


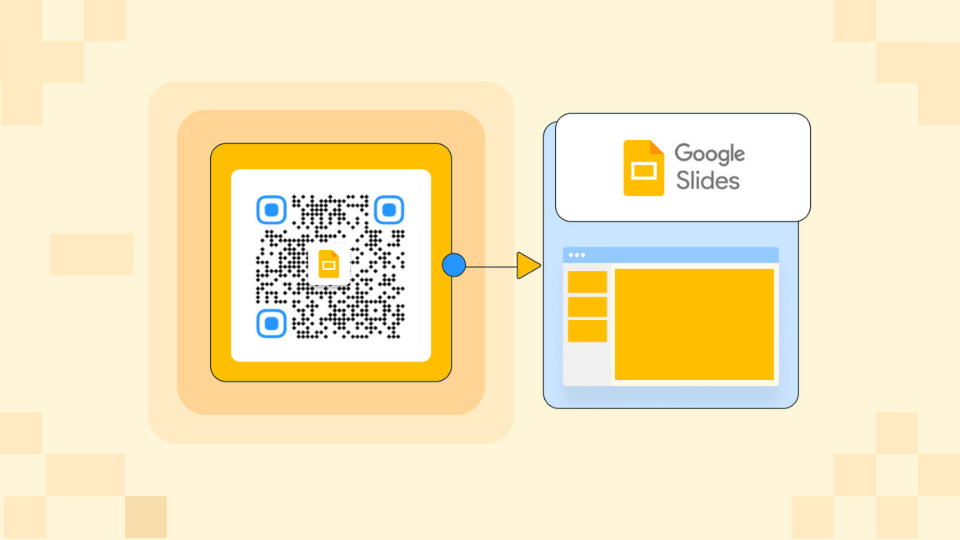
Creating a QR code for Google Slides is simple and effective. It ensures secure, seamless sharing of your presentations.
QR codes have become a popular tool for sharing digital content. They allow quick access to information without typing URLs. For Google Slides, this means sharing presentations with ease. Whether for work, education, or personal projects, QR codes provide a fast way to distribute your slides.
By scanning the code, viewers can open the presentation directly on their devices. This method enhances accessibility and security, making it ideal for various purposes. In this guide, we’ll explore how to generate a QR code for your Google Slides. We’ll cover the steps to ensure your sharing process is smooth and secure. Ready to streamline your presentations? Let’s dive in!
Credit: www.uniqode.com
Creating a QR code for Google Slides ensures secure and seamless sharing. QR codes have become popular for their ease of use and quick access capabilities. By scanning a QR code, users can swiftly access content without typing long URLs. Let’s dive into what QR codes are and their benefits.
A QR code is a two-dimensional barcode. It stores data in a grid of black and white squares. When scanned with a smartphone camera, it quickly decodes the stored information. QR codes can link to websites, files, and other digital content. They are versatile and widely used across industries.
QR codes offer several advantages. First, they simplify the sharing process. No need to type URLs; just scan and access. Second, they are highly customizable. You can create QR codes for different types of content. Third, they enhance security. Sharing through QR codes minimizes the risk of errors. Finally, they are user-friendly. Anyone with a smartphone can scan and access the content.
Creating a QR code for Google Slides enhances the sharing experience. It offers a seamless, secure way to distribute your presentations. QR codes can be scanned easily, making them a popular tool for quick access. Let’s explore why QR codes are beneficial for Google Slides.
QR codes simplify the process of sharing Google Slides. Instead of sending lengthy links, you can generate a compact code. Users can scan this code with their smartphones. This direct access saves time and reduces errors from typing long URLs.
Here are some benefits of using QR codes for sharing:
QR codes add an extra layer of security to your Google Slides. By sharing the code directly, you limit the exposure of your presentation link. This reduces the risk of unauthorized access.
Consider these security benefits:
Here’s a comparison of traditional sharing methods vs QR codes:
| Traditional Sharing | QR Code Sharing |
|---|---|
| Manual URL entry | Simple scan |
| Prone to errors | Accurate access |
| Wide link exposure | Controlled sharing |
Setting up Google Slides is an essential step before creating a QR code for seamless sharing. This process ensures that your slides are organized and accessible. Follow these steps to create and publish your Google Slides presentation.
First, open Google Slides. Click on the blank presentation or select a template. Add your content by clicking on the text boxes. Insert images, charts, and videos as needed. Use the toolbar for formatting options. Save your work frequently. Click on “Untitled presentation” to rename your file.
Once your presentation is ready, click on “File” in the top menu. Select “Publish to the web.” A new window will appear. Choose the link or embed option. Click “Publish” and confirm your choice. Copy the provided link. Your Google Slides are now ready to be shared.
Creating a QR code for Google Slides ensures secure and easy sharing. It allows users to access your presentation quickly. This process involves selecting a QR code generator and following a few simple steps. Let’s dive into the specifics.
Choosing the right QR code generator is crucial. Here are some factors to consider:
Popular choices include QR Code Generator, QR Stuff, and Beaconstac.
Follow these steps to create a QR code for your Google Slides:
Now you have a QR code ready to share your Google Slides presentation.
Creating a QR code for Google Slides can be simple. Customization helps make it unique and professional. You can add logos, change colors, and adjust sizes. This makes your QR code more appealing and recognizable.
Adding a logo to your QR code can increase brand recognition. You can place your logo at the center of the QR code. This makes it easy for users to identify your brand. Tools like QR Code Monkey and Canva allow easy logo integration.
Color customization is also possible. You can change the background and foreground colors. Choose colors that match your brand. Ensure the QR code remains scannable. Use contrasting colors for better readability.
| Tool | Features |
|---|---|
| QR Code Monkey | Logo integration, color customization, free to use |
| Canva | Easy design interface, logo addition, color options |
QR code size is crucial for readability. A small QR code might be hard to scan. A large QR code might be unnecessary. Adjust the size based on your needs. For print materials, use a minimum size of 2 x 2 cm.
For digital use, consider the screen size. Ensure the QR code is big enough to scan. Maintain the aspect ratio to avoid distortions. Resize the QR code using design tools or online QR code generators.
Follow these steps to resize:
Proper sizing ensures seamless scanning and sharing of your Google Slides.
Credit: nira.com
Creating a QR code for your Google Slides is just the first step. Sharing it effectively ensures your audience can access your presentation easily. There are several ways to share your QR code. This guide will help you embed and display your QR code for seamless sharing.
Adding your QR code to documents is simple. First, open the document where you want to embed the code. This could be a Word document, PDF, or even a Google Doc. Insert the QR code image by clicking on the insert image option. Then, select the file from your device. Position the QR code in a visible spot. This ensures that readers can scan it without any hassle.
Displaying your QR code in presentations is very effective. During a slide presentation, show the QR code on a slide. This allows your audience to scan and access your slides immediately. Open your Google Slides presentation. Create a new slide dedicated to the QR code. Insert the QR code image by clicking on the insert image option. Then, select the file from your device. Make sure the QR code is large enough for the audience to scan easily. Display the slide with the QR code at the beginning or end of your presentation. This ensures everyone has access to your content.
Ensuring the security of your Google Slides is crucial. When sharing presentations via QR codes, it’s important to protect your content. This section covers how to keep your Google Slides secure.
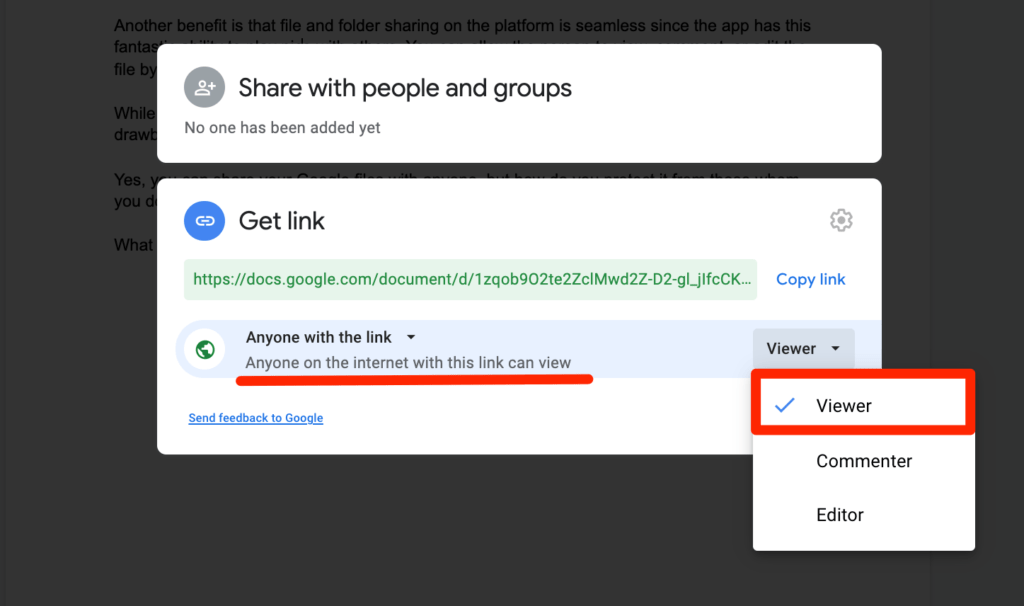
First, set the right access permissions. Open your Google Slide. Click on the “Share” button. Choose who can access your presentation. You can allow view-only access. Or, let specific people edit. Always review the sharing settings. Ensure only trusted individuals have access.
Next, monitor how your QR code is used. Google Slides tracks activity. You can see who opened your presentation. Check for unusual access patterns. Frequent checks help keep your content safe.
Use a QR code generator with analytics. Some tools offer insights on QR code scans. They show the number of scans and the locations. This helps you understand how your presentation is being accessed. It also alerts you to any suspicious activity.
Creating a QR code for Google Slides offers secure and seamless sharing. But sometimes, problems arise. Here are solutions for common issues. This will ensure your sharing process is smooth and efficient.
An invalid QR code is a common issue. This usually happens due to incorrect URL formatting.
Sometimes, users can’t access the Google Slides via the QR code. This is usually due to permission settings.
By following these steps, you can resolve most QR code issues. This ensures a smooth sharing experience for all users.

Credit: www.simpleslides.co
To create a QR code for Google Slides, use a QR code generator. Paste the link of your Google Slides presentation into the generator. Download the generated QR code.
Yes, QR codes for Google Slides are secure. Ensure your Google Slides link has appropriate sharing settings. Only those with the link can access your presentation.
Yes, QR codes offer seamless sharing. Scanning the QR code instantly directs users to your Google Slides presentation. This eliminates the need for manual link entry.
Most QR codes do not expire. However, check the policy of the QR code generator you use. Always use reliable generators for permanent QR codes.
Creating a QR code for Google Slides ensures secure and seamless sharing. It simplifies access for your audience. No more hassle with links or emails. Just scan and view. This method saves time and enhances collaboration. Anyone can easily access your presentation.
Whether for education or business, QR codes offer a practical solution. Embrace this easy-to-use tool today. Experience the convenience and efficiency it brings. Start sharing your Google Slides effortlessly. Your audience will appreciate the simplicity. Happy sharing!